Vine, compressed and pencil charcoal: a first week
A few links on this page go to art supplies we describe. As an Amazon Associate I earn from qualifying purchases.
Charcoal has a reputation for mess, and it deserves it. Within ten minutes your fingers are gray, the side of your hand is gray and there is a faint gray thumbprint on your coffee cup. It also has a reputation for being the fastest way to learn to see light and shadow, and it deserves that too. No other drawing medium moves from the faintest whisper of tone to a deep velvet black so quickly, or lets you take it all back with a rag.
If you have been drawing mostly in graphite, a week with charcoal is worth the mess. This note covers the three main kinds, the paper and tools that make them easier, and a simple plan for seven short sessions.
Three kinds of charcoal
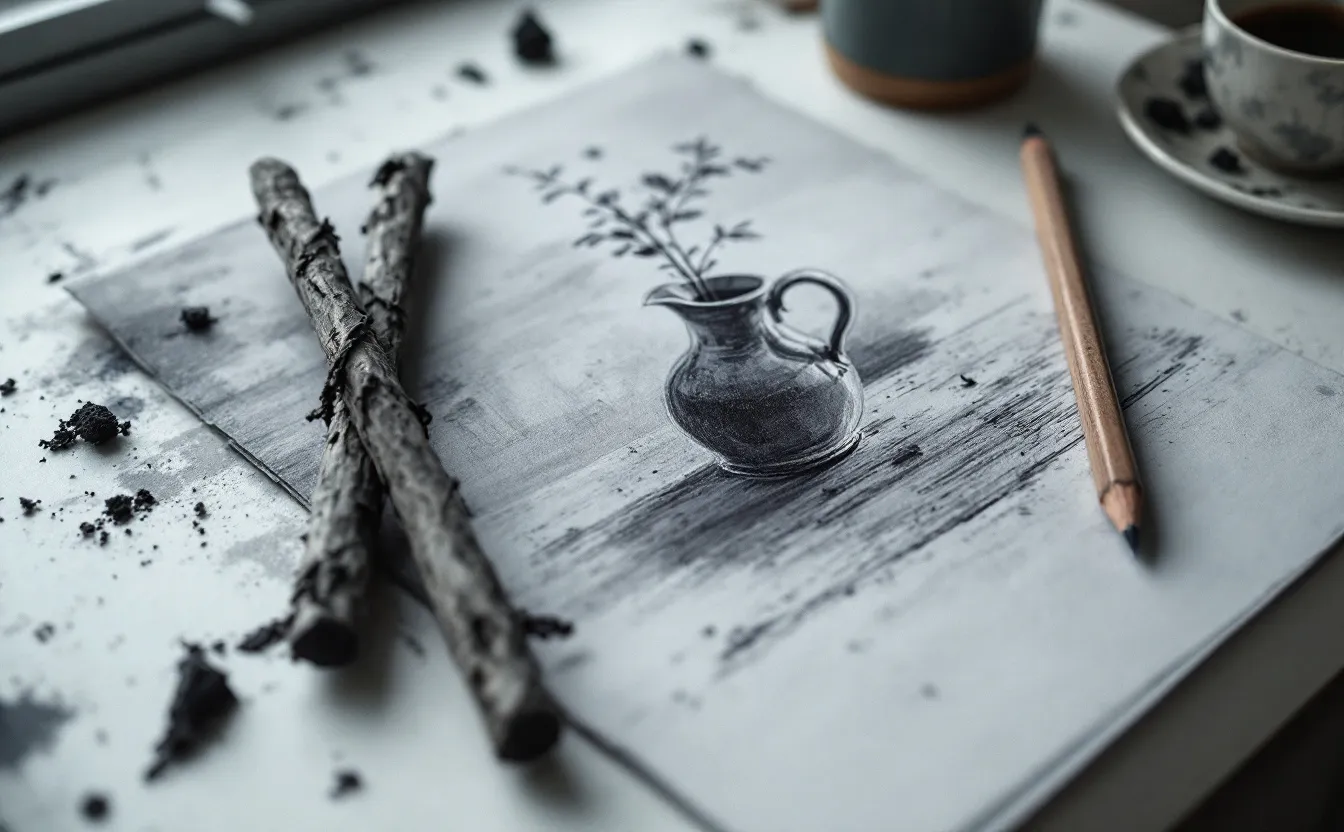
Charcoal for drawing is made by heating wood (or wood-based material) with little oxygen until only carbon remains. How it is made after that changes how it behaves.
| Type | How it is made | Feel | Best for |
|---|---|---|---|
| Vine or willow charcoal | Thin twigs of willow or vine, charred whole | Very soft, light, crumbly | Loose sketching, big shapes, early stages; erases almost completely |
| Compressed charcoal | Charcoal powder pressed with a binder into sticks | Dense, dark, smooth | Deep darks, bold marks, finished values; harder to erase |
| Charcoal pencil | Compressed charcoal in a wooden casing | Controlled, sharpenable | Detail, edges, hatching, accents |
Vine charcoal is the gentlest start. It sits on top of the paper, so a light touch with a rag or a soft brush lifts most of it away. That makes it perfect for blocking in a drawing and moving shapes around before committing. Its blacks are a warm, slightly gray black, never as deep as compressed.
Compressed charcoal holds together because of its binder, and it pushes into the paper's tooth. Its blacks are dense and rich, and its lines are harder to remove. Use it once the big shapes are right.
Charcoal pencils are compressed charcoal you can sharpen to a point. They give you control near edges and in small areas, and they keep your fingers a little cleaner.
Most drawing kits include all three in soft, medium and hard. For a first week, one box of thin vine sticks, one or two compressed sticks and one medium charcoal pencil are enough.
Paper
Charcoal needs paper with tooth: a surface with small hills and valleys that catch the particles. On smooth paper it slides around and looks thin.
Good choices include charcoal paper with a laid texture (fine parallel lines), heavier drawing paper, newsprint for warm-ups and toned paper in gray or tan for drawings with white highlights. Mixed media paper works if it has a vellum surface rather than a smooth one; the note on picking a mixed media sketchbook explains the difference between surfaces.
Newsprint deserves a special word. It is cheap, it takes charcoal beautifully and it yellows within months. That is fine. Use it for practice and studies, and switch to an acid-free drawing paper when you want to keep something.
Tools that help
- A chamois cloth or soft rag for broad blending and wiping out.
- A kneaded eraser, which lifts charcoal by dabbing. Pinch it to a point to draw highlights back into a dark area.
- A blending stump (a tightly rolled paper stick) for small soft transitions.
- A plastic eraser for cleaner, harder corrections.
- A sanding block or a craft knife to sharpen sticks and pencils.
- A board and clips, so you can tilt the drawing and let loose dust fall away rather than smearing into the paper.
Fixative is optional. A workable fixative sprayed lightly reduces smudging, but it also darkens the drawing a little and changes the surface. If you use it, spray in light passes outdoors or in a well-ventilated room, holding the can at a distance, and never indoors with the window closed.
Mess and dust, handled sensibly
Charcoal dust is mostly carbon, but fine dust of any kind is best not breathed in deliberately. A few habits keep the mess and the dust down:
- Never blow dust off a drawing. Tap the board gently over a wastebasket instead.
- Work with the board upright or tilted, so dust falls rather than settles.
- Keep a damp cloth nearby for your fingers.
- Wipe the table with a damp cloth when you finish rather than sweeping dust into the air.
- Wear an apron or old shirt.
Seven short sessions
The plan below assumes twenty to thirty minutes a day. Each session builds one skill. Keep all the drawings; on the last day, compare them.
Day 1: marks
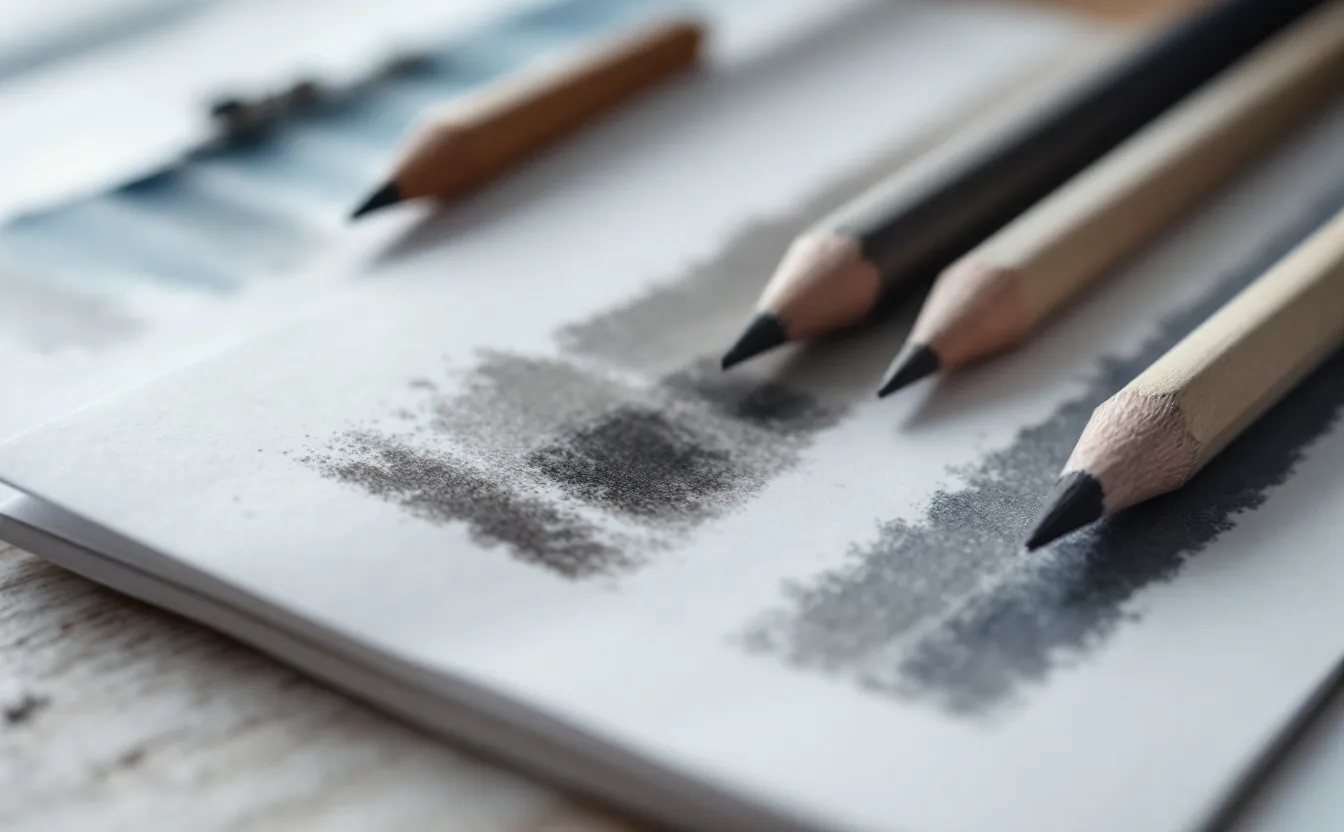
Fill a sheet with marks from each type. Lines with the tip of the vine stick. Broad tone with the side of a short piece. Dark hatching with compressed. Fine lines with the pencil. Then smudge half of each mark with a finger and lift a stripe out with the kneaded eraser. You are learning what each tool does before asking it to draw anything.
Day 2: a value scale
Draw a strip of seven boxes. Leave one white, fill one as black as compressed charcoal allows, and step evenly between them. Compare it with a graphite scale if you have one; the darkest charcoal box will be noticeably deeper. The note on drawing pencil grades describes the graphite version of this exercise.
Day 3: big shapes in vine
Put one simple object, a jug or a bottle, under a single lamp. Using only vine charcoal on its side, draw the shadow shapes as flat areas of tone. No outlines. Squint until the details disappear and only the big light and dark shapes remain.
Day 4: the toned ground
Cover a whole sheet with a mid-gray layer of vine charcoal and rub it smooth with a rag. Now draw the same object by adding darks with compressed charcoal and lifting lights with the kneaded eraser. Working from the middle out, instead of from white, changes how you think about light.
Day 5: edges
Draw the object again, this time paying attention to where edges are sharp and where they soften. A cast shadow is often sharp near the object and soft further away. A rounded side softens into its shadow. Use the pencil for sharp edges and a finger or stump for soft ones.
Day 6: gesture
Set a timer for one minute and draw a person, a pet or an object from different angles, one drawing per minute, ten in a row. Use vine charcoal and big arm movements. Speed stops you from fussing.
Day 7: one longer drawing
Spend the whole session on one drawing of a slightly more complex arrangement: two or three objects with a cloth. Block in with vine, adjust, then build the darks with compressed and the details with the pencil. Lift highlights last.
Lay all seven sheets side by side. Most people notice that the toned-ground drawing and the long drawing look more solid than anything they have made in graphite, and that the gesture drawings have a liveliness the careful ones lack. Both lessons are worth carrying back to any medium.
Keeping charcoal drawings
Store finished charcoal drawings flat, with a sheet of smooth tissue laid gently on top and very little weight over them, or framed behind glass with a mat holding the glass away from the surface. Avoid plastic sleeves, which pull charcoal off the paper through static. The note on storing drawings and prints covers boxes and interleaving in more detail.
Questions people ask
Can I mix charcoal and graphite?
Yes, though they look different side by side: graphite shines slightly and charcoal stays matte. Many artists use graphite for early lines and charcoal for darks, or the reverse.
Why does my charcoal look gray instead of black?
You are probably using vine charcoal or pressing lightly on smooth paper. Switch to compressed charcoal for the darks, work on paper with more tooth and build several layers.
Can I erase charcoal completely?
Vine charcoal mostly, compressed charcoal only partly. Erase by dabbing with a kneaded eraser rather than rubbing, which pushes particles deeper into the paper.