Linocut tools: gouges, brayers, barens and what to skip
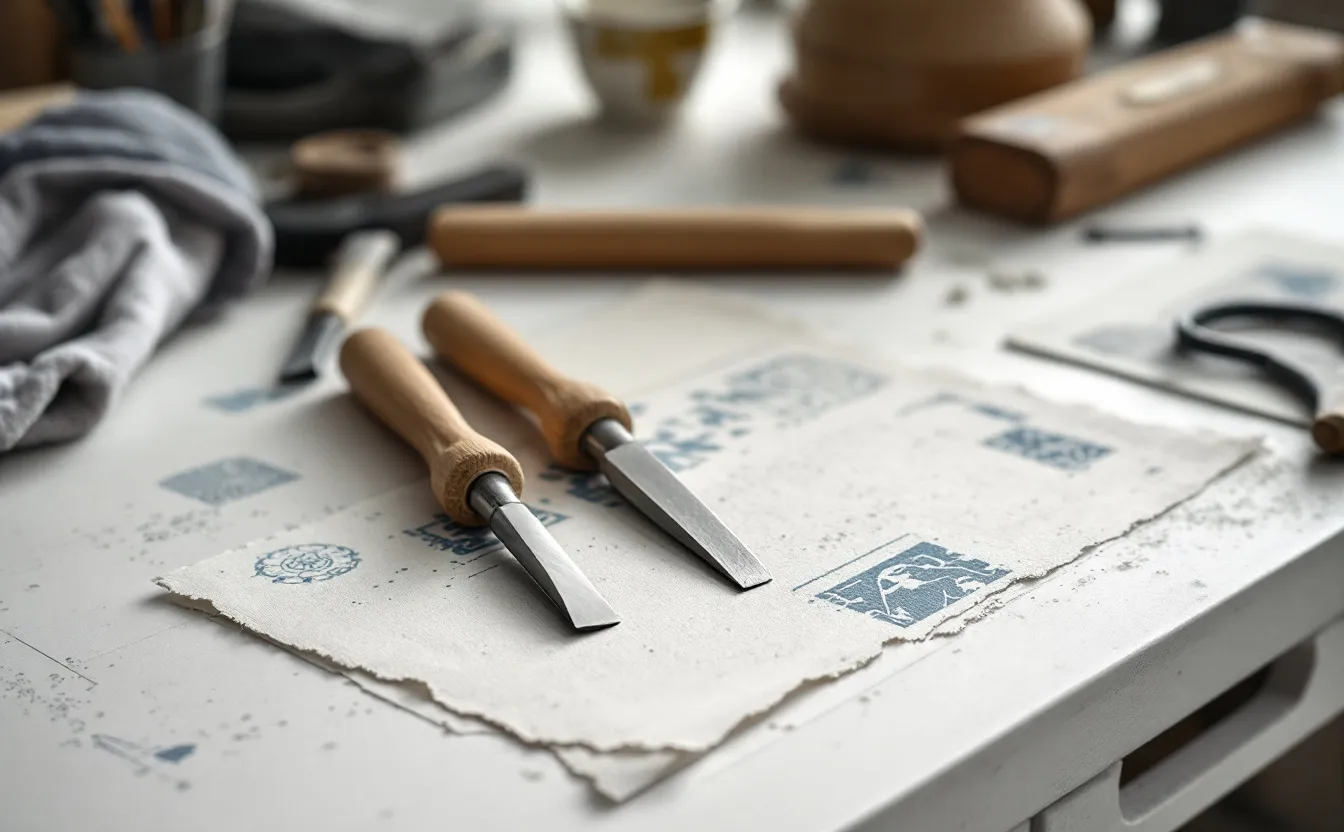
Relief printing needs very few tools, which is part of its appeal. It also means that each tool matters. A blunt gouge makes carving miserable and slightly dangerous. A brayer that is too hard skips over the block. A cheap baren slides around and leaves pale patches. None of these are expensive problems to fix, but it helps to know which tool does what before buying a drawer full of them.
This note goes through the linocut kit piece by piece: what each tool is for, what to look for and what you can safely leave out at first.
Gouges: the tools that cut
Linocut gouges are small chisels with shaped blades. The profile of the blade decides the shape of the mark it leaves.
| Profile | Common sizes | Mark | Used for |
|---|---|---|---|
| V gouge (veiner) | 1 to 3 mm | A crisp, narrow line that widens with depth | Outlines, fine lines, hatching, lettering |
| Small U gouge | 1 to 3 mm | A rounded narrow channel | Textures, curves, clearing near lines |
| Large U gouge | 4 to 8 mm | A wide, shallow channel | Clearing larger areas |
| Flat or square chisel | 5 to 10 mm | A flat cut | Clearing big areas, cleaning up backgrounds |
| Knife | A slicing cut | Clean edges, separating shapes (more common in woodcut) |
Two gouges, a small V and a medium U, carve almost any first print. The V draws; the U clears. Add a larger U for backgrounds when you start making bigger blocks.
Interchangeable sets vs solid tools
Many beginners start with a single handle and a set of interchangeable blades that slot into it. A block printing starter kit usually includes this kind of cutter along with ink, a small brayer and a soft block. Interchangeable blades are inexpensive, compact and fine for soft carving blocks and occasional use. Their weaknesses are that the blades are thin, dull fairly quickly and are hard to resharpen, and the joint between blade and handle can wobble.
Solid tools, with each blade fixed permanently in its own handle, cost more per tool but hold an edge longer, can be sharpened repeatedly and feel more precise in firm linoleum. Many printmakers who carry on past a few prints end up with three or four good solid tools and keep the interchangeable set for travel or teaching.
A sensible route is to start with the interchangeable set, find out which two or three profiles you use most, then buy those as solid tools.
Keeping gouges sharp
A sharp gouge glides through linoleum and is safer, because it needs less force and is less likely to skid. Signs of dullness are crumbly edges, tearing instead of cutting, and the tool skating off the surface.
Solid tools can be honed with a slip stone or a strop and honing compound: polish the outside bevel with the stone, then remove the burr from the inside with a shaped slip or folded leather. Interchangeable blades can be touched up in the same way, but most people simply replace them.
The bench hook: the safety tool
A bench hook is a flat board with a lip on the underside that catches the edge of the table and a lip on top that holds the block. You push the gouge away from you and the block cannot slide. More importantly, your free hand can rest behind the cut, never in front of the blade.
Slipping gouges are the most common injury in relief printmaking, and almost all of them happen when the free hand is holding the block in the path of the tool. If a kit does not include a bench hook, buy one or make one from a piece of plywood and two strips of wood. It costs less than a single good gouge and it is the tool most worth having.
Other safety habits: cut away from your body, turn the block rather than your wrist on curves, keep cuts shallow and put tools down with the blade facing away. The note on linocut at home walks through a whole first print with these habits in place.
Brayers: rolling the ink
A brayer is a small roller on a handle, used to spread ink on the slab and transfer it evenly to the block.
| Brayer | Feel | Good for |
|---|---|---|
| Soft rubber | Flexible, forgiving | Most relief printing; rolls into slight unevenness |
| Hard rubber | Firm | Very flat blocks, fine detail, even solids |
| Foam | Very soft | Cheap kits and stencils; tends to leave texture and wears quickly |
| Acrylic or composition | Varies | Specialist uses |
A soft rubber brayer about 4 inches wide suits small blocks up to roughly letter size. For larger blocks, a wider brayer saves passes and gives more even coverage. Foam rollers from craft kits are worth replacing early; they absorb ink and leave a speckled surface.
Store brayers on their stands or hanging, never resting on the roller, or the rubber develops a flat spot.
The inking slab
You need a smooth, hard, non-absorbent surface to roll ink out on. A sheet of glass with taped or ground edges is traditional and easy to clean. Acrylic sheet and smooth ceramic tiles work too. A slab around 12 by 16 inches gives room to roll a 4-inch brayer properly.
Put a sheet of white paper under clear glass so you can see how thin and even the ink layer is.
Barens and spoons: printing by hand
Without a press, you transfer ink from block to paper by rubbing the back of the paper. Several tools do this:
- A wooden spoon. The back of a large wooden spoon is the cheapest baren there is and works well on small blocks.
- A plastic baren. A flat disc with a handle, inexpensive and easy to control.
- A ball-bearing baren. Small bearings under a flat plate give more even pressure with less effort, useful for larger blocks and solid areas.
- A traditional Japanese baren. A coiled cord pad wrapped in bamboo sheath, designed for water-based Japanese woodblock printing; lovely, but delicate and pricey.
Start with a spoon. If solid black areas keep coming out patchy despite good inking, a ball-bearing baren is the most useful upgrade before a press.
Blocks and paper, briefly
Tools are only half the setup. Traditional artist linoleum holds crisp detail but is firm, especially when cold; soft rubber blocks cut easily but crumble in fine lines. For paper, thin, smooth, absorbent sheets print best by hand. The Supply shelf lists the paper and printing picks we keep coming back to.
What to skip at first
- Large sets of twelve or more gouges. You will use three.
- A press. Hand burnishing prints small blocks beautifully; consider a press only when you make large blocks or long editions.
- Expensive inks. Water-based block printing inks are fine for learning and wash up easily.
- Carving mats and specialty holders, if you have a bench hook.
Buy fewer, better tools and replace the cheap ones as you learn what you need. Other relief-printing notes are collected under printmaking.
Looking after the kit
A few minutes of care at the end of each session keeps tools working for years. Wipe ink off brayers and the slab before it dries, with water and a little soap for water-based ink or with vegetable oil and then soapy water for oil-based ink. Dry everything, especially metal blades, which rust if stored damp. Keep gouges in a roll or a box where the blades cannot knock against each other, since a chipped edge takes much longer to restore than a dull one.
Store linoleum blocks flat, away from heat, with a sheet of paper over the carved face. Soft carving blocks can be cleaned with a damp cloth and kept in a plastic bag so they do not pick up dust. Label blocks with the date and the edition printed from them, especially if you might reprint later. And keep a small notebook with the inks, papers and tools you used for each print, so a successful combination can be repeated.
Questions people ask
Can I use woodcarving tools for linoleum?
Yes, especially palm-sized carving gouges. They are often sharper and sturdier than linocut sets. Very large woodworking chisels are too much for small blocks.
Why do my gouges tear the linoleum?
The blade is dull, the linoleum is cold, or you are cutting too deep or too steeply. Warm the block gently, hold the tool at a lower angle and hone the blade.
Is one brayer enough?
For one color at a time, yes. If you print in several colors, a second brayer saves cleaning between colors.