Monotypes on a gel plate: printmaking without carving
A few links on this page go to art supplies we describe. As an Amazon Associate I earn from qualifying purchases.
A gel plate is a slab of soft, slightly tacky, clear material, usually about the size of a sheet of letter paper. You roll a thin layer of paint across it, press shapes or draw into the paint, lay a sheet of paper on top, rub, and peel. What comes off is a monotype: a print of which there is only one good impression, because the paint left on the plate after the first pull is different every time.
It is printmaking with almost no setup and no cutting. A first session takes the time it takes to unwrap the plate, and the results can be startlingly good. It is also a wonderful way to make backgrounds and textured papers for collage, drawing and bookbinding.
Monotype, monoprint and why it matters
The two words get used interchangeably, but printmakers draw a distinction. A monotype is made from a smooth, unmarked plate: the image exists only in the paint, so each print is unique. A monoprint comes from a plate that carries some fixed element, such as an etched line or a carved block, so prints share a common structure but differ in color and texture.
Gel plate prints are almost always monotypes. You will never pull the same print twice, which is either liberating or maddening depending on your temperament.
What you need
| Item | Notes |
|---|---|
| Gel printing plate | 8 by 10 inches is a versatile size; smaller rounds and squares exist for cards |
| Soft rubber brayer | 4 inches wide suits most plates |
| Acrylic paint | Ordinary student or craft acrylic works; open or slow-drying acrylics give more working time |
| Paper | Copy paper, drawing paper, thin printmaking paper, book pages, tissue; smooth papers pick up the most detail |
| Mark-making things | Leaves, lace, string, bubble wrap, stencils, cut paper, combs, cotton swabs, the end of a brush |
| Baby wipes or a damp cloth | For cleaning the plate between prints |
| A flat, smooth table and some scrap paper | Prints come off wet |
A reusable gel printing plate is the only specialized purchase. Everything else is probably already in a drawer. Keep the plate on its protective sheet when not in use, away from sharp edges, which can nick its surface.
The basic pull
- Squeeze two or three small dabs of acrylic paint onto the plate, each about the size of a pea.
- Roll them out with the brayer in several directions until the layer is thin and even, with a faint orange-peel texture. Too much paint is the most common mistake; you should be able to see the plate's sheen through it.
- Make your marks. Press a leaf into the paint, drag a comb through it, draw into it with a cotton swab or lay down a stencil.
- Place a sheet of paper on top and rub gently with your hands, from the center outward. Fingers are enough; a clean baren or spoon helps with thicker papers.
- Peel the paper off in one steady motion.
The paint on a gel plate dries quickly, especially in a warm room, so work briskly. If the paint has already started to dry when you pull, it will stick in patches or not transfer at all.
Ten things to try
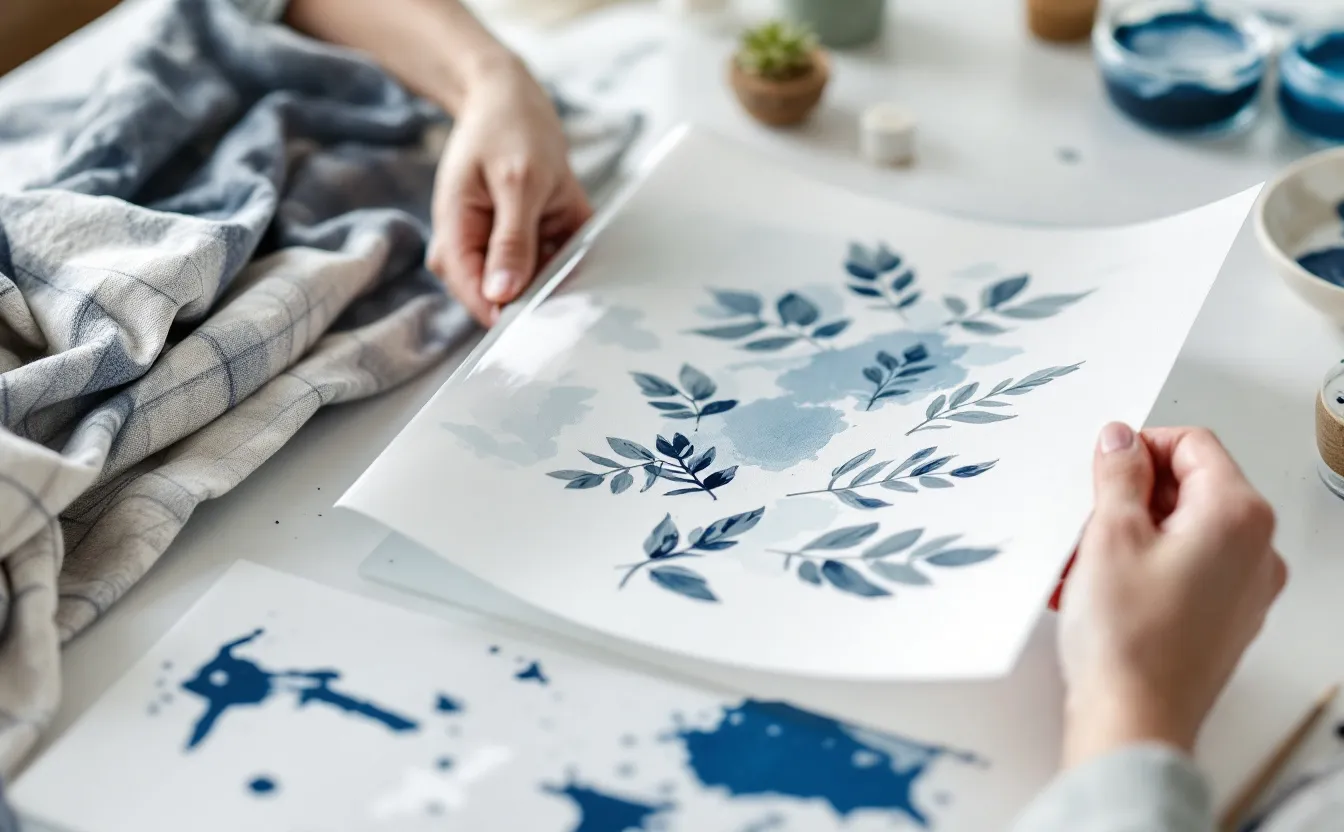
- Leaf prints: Roll paint, press a fresh leaf veined side down, pull a print. The leaf blocks paint and leaves a pale silhouette. Then peel the leaf away and pull a second print: the "ghost" shows the fine veins.
- Stencils: Cut simple shapes from copy paper. Lay them on the painted plate and pull; the stencil shapes stay paper-colored.
- Layering: Let a print dry, then print over it with a second color and a different texture. Most impressive gel prints have three to six layers.
- Subtraction drawing: Draw into a rolled layer with a cotton swab, a pencil eraser or a wooden stick. The lines become white in the print.
- Texture plates: Press bubble wrap, mesh, lace or corrugated card into the paint, lift it and pull.
- Ghost prints: After the first pull, pull again onto a fresh sheet without adding paint. The faint second impression often has the best detail.
- Two-color rolls: Put two colors side by side on the brayer and roll them together for a gradient.
- Masked shapes: Lay a cut paper mask on a dry print before the next layer, so an area stays the earlier color.
- Drawing transfer: Roll a very thin layer, lay paper on top gently, and draw on the back of the paper with a pencil. Only the lines pick up paint, like a soft trace monotype.
- Clean-up prints: Before cleaning the plate, pull leftover paint onto sheets of old book pages. They make good collage papers.
Paper choice
Smooth, thin papers pick up the most detail: copy paper, smooth drawing paper, sketch paper and thin printmaking paper. Heavier papers work but need more rubbing. Textured papers, such as cold press watercolor paper, give a broken, speckled transfer, which can look lovely but loses fine marks.
If you want to keep prints for framing, use an acid-free drawing or printmaking paper. If they are backgrounds for collage, anything goes.
Why prints come out pale or patchy
| Problem | Likely cause | Fix |
|---|---|---|
| Patchy, missing areas | Paint dried on the plate before pulling | Work faster, use less paint, add a slow-drying medium |
| Blobby, smeared print | Too much paint | Roll thinner; blot off excess with a scrap sheet |
| Pale, weak print | Too little paint or too little pressure | Add a little paint, rub harder, use thinner paper |
| Stencil shapes fuzzy | Stencil too thick, or paper shifted | Use copy paper stencils; hold the paper still while rubbing |
| Plate surface marked | Sharp object pressed too hard | Avoid points; clean gently; store flat |
Cleaning and caring for the plate
Wipe the plate with baby wipes or a soft damp cloth between colors. Some staining from strong pigments is normal and does not affect the prints. At the end of a session, wash it gently with mild soap and water, let it dry and replace its cover. Store it flat, at room temperature, away from direct sunlight and from anything sharp.
Brayers clean the same way. Do not leave acrylic to dry on the rubber; it is hard to remove.
From gel plate to carved block
Many people who start with gel plates move on to relief printing, because the inking and pulling skills carry over directly. The difference is that a carved block repeats: you can print an edition of identical images. If that appeals, the note on linocut at home takes you through carving a first block and printing it by hand. More printmaking notes are under printmaking.
A first session, step by step
If the list of techniques feels like too much, try this hour-long plan. Cut ten sheets of copy paper and two sheets of a better drawing paper to a size a little larger than the plate. Pick two colors that sit well together, a blue-grey and a warm ochre for example, plus white.
Pull three prints in the lighter color using leaves or cut paper shapes. Do not judge them yet; set them aside to dry. Clean the plate. Now roll the darker color thinly, press a texture into it (lace, mesh, a crumpled sheet of foil) and print it over the dry first layers. Pull a ghost print of what remains onto a fresh sheet.
By the end you will have perhaps a dozen prints, two or three of which will surprise you. Lay them all out on the floor and look at them from standing height. The ones that work almost always have a clear contrast between a flat area and a busy one, and a light layer under a darker one. That observation is the most useful thing a first session can teach, and it carries straight into the next one.
Keep the duds. Cut up, they make excellent collage papers and bookmarks, and they show you what not to repeat.
Questions people ask
Can I use printing ink instead of acrylic?
Water-based block printing ink works, though it dries quickly on the plate. Acrylic is cheaper and comes in more colors. Oil-based inks are generally not recommended for gel plates; check the plate maker's guidance.
How do I make prints with fine lines?
Roll a very thin layer of paint and use thin, smooth paper. Ghost prints, the second pull without fresh paint, often show the finest detail.
Can I print on fabric?
Yes, with fabric-friendly acrylic or a textile medium mixed into the paint. Smooth cotton picks up detail best. Heat-set according to the paint maker's instructions.