Linocut at home: a first block, printed without a press
A few links on this page go to art supplies we describe. As an Amazon Associate I earn from qualifying purchases.
Linocut is the friendliest way into printmaking. You carve a design into a soft block, roll ink over the surface, lay paper on top and rub. Everything you did not cut away prints; everything you carved stays the color of the paper. There is no acid, no solvent and no machinery, and the whole process fits on a kitchen table between breakfast and lunch.
It is also a medium that rewards a little planning. This walk-through takes you from a blank block to a small edition of prints, with the mistakes most first prints make pointed out along the way.
What you need
A complete first kit is short:
| Item | What it does | Notes |
|---|---|---|
| Carving block | The printing surface | Traditional linoleum (firm, crisp detail) or soft "easy carve" rubber blocks (very easy to cut, less crisp) |
| Cutter handle and blades | Removes material | A V gouge for lines and a U gouge for clearing are enough to start |
| Water-based block printing ink | Prints the image | Washes up with soap and water; dries quickly |
| Brayer (roller) | Spreads ink evenly | A soft rubber brayer about 4 inches wide suits small blocks |
| Inking surface | Where you roll out ink | A sheet of glass, acrylic or a smooth tile |
| Barren or wooden spoon | Burnishes the paper | The back of a large wooden spoon works well |
| Paper | Takes the print | Thin, smooth and absorbent; printmaking or Japanese paper is ideal, copy paper works for proofs |
| Bench hook | Holds the block while you cut | Keeps your free hand behind the blade |
A block printing starter kit usually bundles the handle, a few blades, a small block, ink and a brayer, which is a sensible way to start before you know which blades you like. Add a bench hook if the kit does not include one. It is the single most useful safety tool in relief printing.
Choosing a block
Traditional artist linoleum is made from linseed oil, cork or wood flour and resin on a burlap backing. It cuts cleanly and holds fine lines, but it is firm, and in a cold room it can be hard work. Warming it gently, for example by leaving it near a radiator or under a lamp for a few minutes, softens it noticeably.
Soft carving blocks made from rubber or vinyl compounds cut almost like cheese. They are kind to hands and good for children, large shapes and quick experiments. Their edges are a little softer, and very fine lines can crumble.
For a first print, either works. Start small: 4 by 6 inches is plenty. Large blocks take hours to carve and need much more ink and pressure to print evenly.
Designing for relief
The rule that trips up every beginner: the print is a mirror image of the block. Text has to be carved backward. A face turned left will look right. Plan for it from the start.
The second rule is about black and white. Relief prints work best with strong shapes and clear contrast. Fine pencil shading does not translate; you have to decide, area by area, whether something prints (stays uncut) or does not (gets carved away). Texture comes from marks: parallel lines, dots, cross-hatching and the direction of your cuts.
A useful exercise is to redraw your design with a black marker only. No gray, no soft edges. Fill the shapes that will print. If the marker drawing reads clearly from across the room, the print will too.
Transferring the design
There are several easy ways to get a drawing onto the block in reverse:
- Draw on tracing paper with a soft pencil, flip it face down on the block and rub the back with a spoon. The graphite transfers, already reversed.
- Draw directly on the block in pencil, checking in a mirror as you go.
- Print a mirrored copy of your drawing, shade the back of the sheet with a soft pencil, lay it on the block graphite side down and trace firmly over the lines.
Once the lines are on the block, go over them with a fine permanent marker and lightly fill the areas that will print. Some printmakers also brush a thin wash of diluted ink over the whole block first, so the carved areas show up pale against the dark surface as you cut.
Carving safely
Carving tools are sharp, and the most common relief-printing injury is a gouge slipping off the block into the hand holding it. A few habits prevent almost all of it:
- Use a bench hook, or clamp the block, so your free hand is never in front of the blade.
- Always cut away from yourself, pushing the tool forward.
- Turn the block, not your wrist, to change direction on curves.
- Keep cuts shallow. You only need to go about a third to half of the way into linoleum; deeper does not print better.
- Keep blades sharp. A dull blade needs more force and skids.
- Put the tools down, blade away from you, whenever you stop to look.
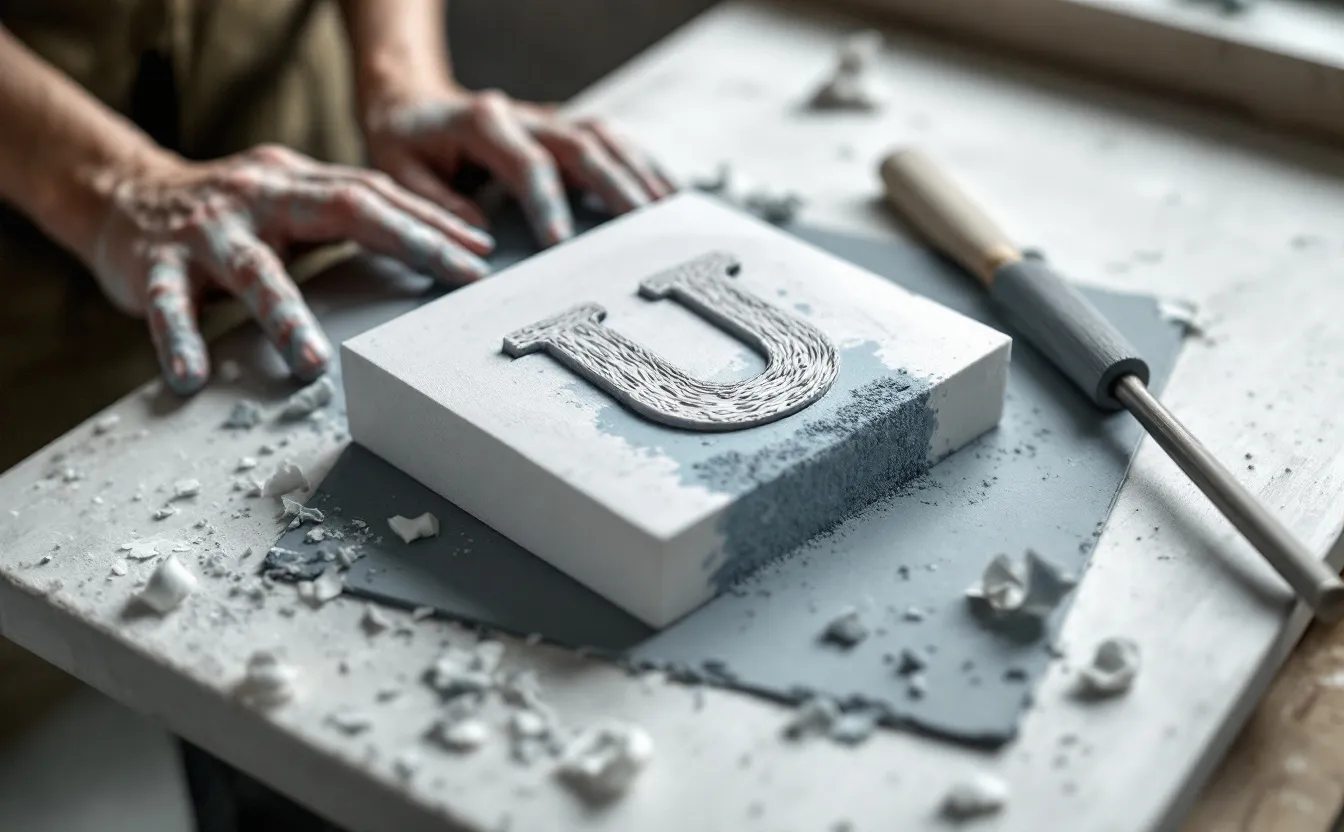
Start with the outlines using a small V gouge, holding the tool at a low angle so it skims rather than digs. Then clear the larger areas with a U gouge, following the direction you want the texture to run. Leave a little uncut material near the edges of large cleared areas, or carve them deeper, so the brayer does not dip in and print stray marks.
Take a proof before you think you are finished. It is much easier to cut more away than to put it back.
Inking
Squeeze a line of ink about the length of your brayer's width onto the inking slab. Roll the brayer back and forth, lifting it now and then so it rotates, until the ink forms a thin, even layer with a fine, velvety texture. It should hiss softly. A thick, glossy, smooth layer means too much ink.
Roll the ink onto the block in several directions with light pressure. Two or three thin passes are better than one heavy pass, which fills fine lines and carved textures. Recharge the brayer between passes as needed.
Printing by hand
Lay the block face up. Hold the paper by opposite corners, lower it gently onto the inked surface and do not shift it once it touches. Then burnish: rub the back of the paper with the back of a wooden spoon or a baren in small circles, working from the center out. Press firmly over solid areas and more gently near fine lines.
With thin paper, you can watch the image appear through the sheet as you rub. Lift one corner carefully to check. If an area is pale, lower the corner and rub that spot again. When you are happy, peel the paper off in one smooth motion and lay it flat to dry. Water-based ink is usually touch-dry in an hour or less.
Most first prints come out patchy. The usual causes, in order: too little pressure, too much ink, ink too thin, or paper too thick. Adjust one thing at a time and pull another proof.
Pulling an edition
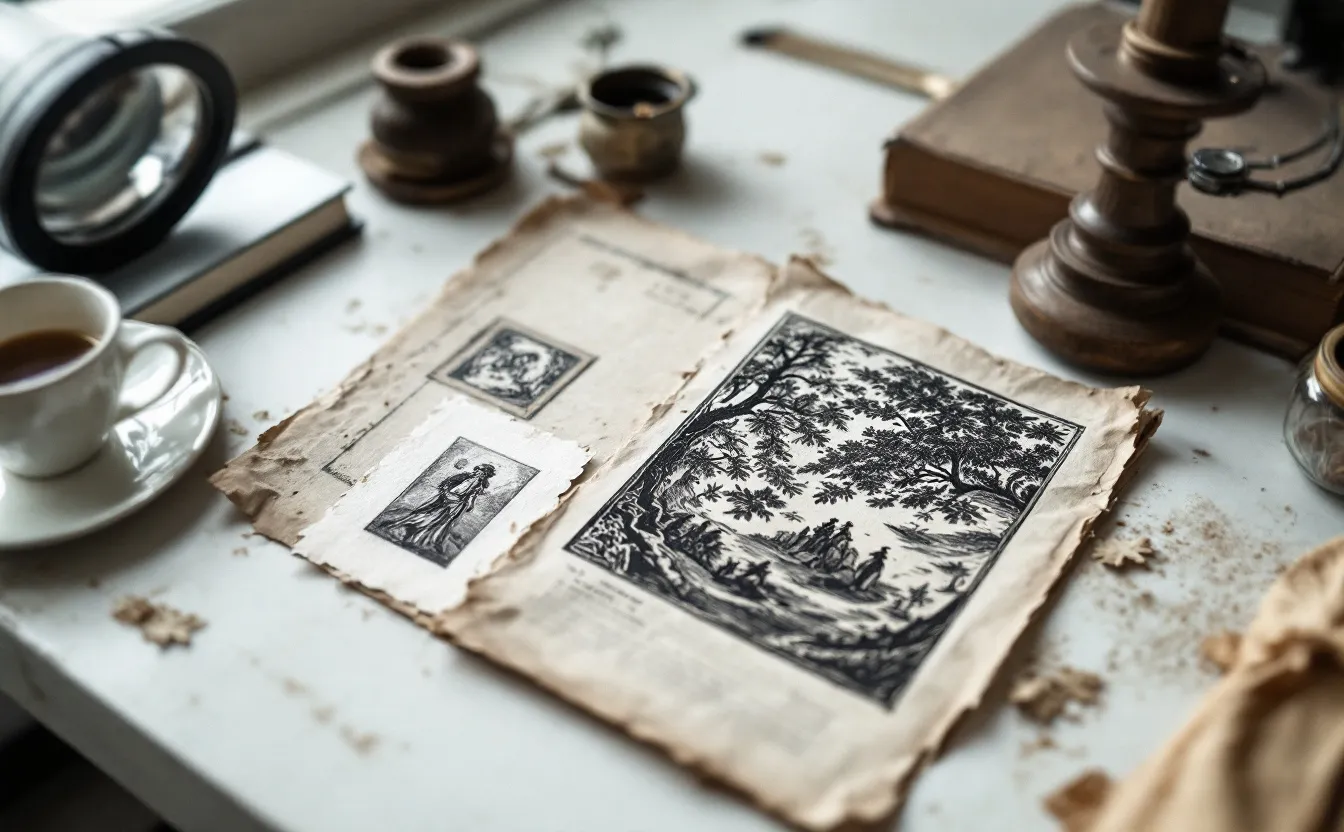
When the block prints the way you want, print several copies in a row, re-inking between each one. Number them in pencil in the lower margin (1/10, 2/10 and so on), add a title if you like, and sign them. The note on how printmaking changed who could own art explains where these conventions came from.
Store the dry prints flat, interleaved with tissue or clean paper, and clean the block, brayer and slab with water and a little soap before the ink dries hard.
If carving feels like too much for a first try, the same inking and hand-printing skills apply to a gel plate, with no cutting at all; see monotypes on a gel plate. More relief-printing notes are under printmaking.
Questions people ask
Can I print linocuts on fabric?
Yes, with fabric block printing ink rather than paper ink. Prewash the fabric, place it on a padded surface and press firmly. Heat-set the ink according to the manufacturer's instructions.
Why does my linoleum crumble?
It is probably too cold or too old. Warm it gently before carving. Very old linoleum dries out and gets brittle; a fresh block is cheap.
Do I need a press?
No. Hand burnishing gives excellent results on small blocks. A press helps with large blocks and long editions, and makes evenly solid areas easier, but it is a later purchase.